Ice Cream Pudding For Christmas
In this last stage of this tutorial for a Christmas Ice Cream Pudding, we learn how to remove the mold while keeping the ice cream intact. This sensational Christmas dessert is from our collection of easy recipes that look fantastic yet take little effort.
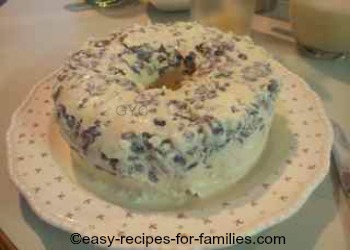
If you'd like the full recipe, just click on the button:
To go to the previous step of this tutorial where we learned the easy steps of soaking the fruit and making the ice cream pud, click on the button:
Final Steps To This Divine Delicious Ice Cream Christmas Pudding
For this stage, you'll require:
- The frozen pudding
- A blunt knife
- A lovely serving platter
Here's the frozen ice cream. This will have been freezing in the furthest back of the freezer for at least 24 hours. It has to be frozen solid, so be sure to allow sufficient time to allow for it to harden.
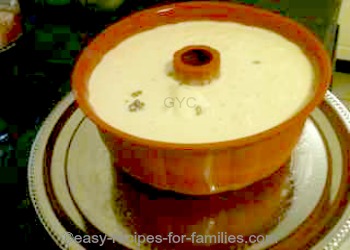
To loosen the frozen pudding from the silicone mold, run a blunt knife that has been dipped in hot water around the edge of the mold, while pulling on the silicone walls at the same time.
Gently, move the knife further down so that the whole frozen pud is separated from the walls. Keep dipping the blade in hot water to keep it hot.
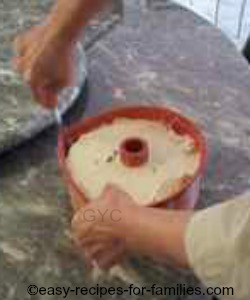
Place the serving platter over the top of the mold, centering carefully.
Upturn the mold, holding on to both the platter and the mold.
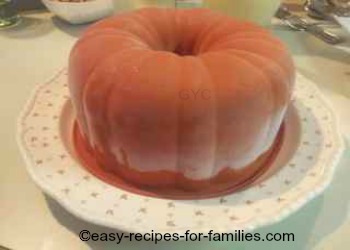
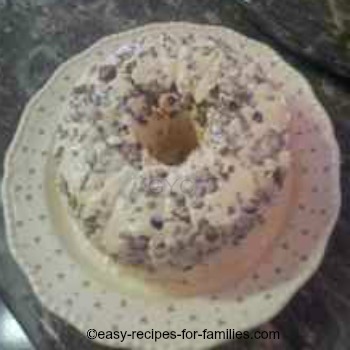
Be sure the pudding is centered on the platter, then carefully lift up the walls away from the frozen pudding. It should come away easily if you've run a hot knife around the walls.
Serve immediately as it will melt quickly. Cut thick slices of this delicious pudding.
This was just one of 4 easy recipes that I made for dessert for Christmas Lunch with 26.
This Christmas dessert goes perfectly with...
We enjoyed a traditional Roast Turkey with a Wild Rice Stuffing. This is just ever so easy and the result is superbly delicious!
|
|
|


Comments